Ever wondered how to cook those fluffy, golden Rhodes Rolls like a pro? Well, buckle up because we’re diving deep into the world of bread-making magic, and by the end of this article, you’ll be rolling out perfection in no time. Whether you’re a seasoned baker or someone who burns toast, these step-by-step cooking instructions for Rhodes Rolls are here to save the day. Get ready to turn your kitchen into a bakery powerhouse!
Now, let’s face it—baking can sometimes feel overwhelming, especially when it comes to yeast-based recipes. But don’t sweat it. Rhodes Rolls are designed to make life easier for home cooks like you. They come pre-portioned, pre-fermented, and ready to rise, so all you need is a little know-how and some love. And trust me, once you get the hang of it, you’ll never go back to store-bought bread again.
So, why should you care about cooking instructions for Rhodes Rolls? Because they’re versatile, delicious, and oh-so-easy to make. From family dinners to holiday feasts, these rolls are a crowd-pleaser that will leave everyone asking for seconds (and maybe thirds). Stick around, and I’ll show you everything you need to know to master this recipe like a pro.
Here’s the deal: I’ve put together a comprehensive guide that covers everything from prep work to serving tips. We’ll explore different cooking methods, troubleshooting tips, and even fun variations to spice things up. Let’s get started, shall we?
Table of Contents
- Introduction to Rhodes Rolls
- A Brief History of Rhodes Rolls
- Preparing Your Rhodes Rolls
- Cooking Methods for Rhodes Rolls
- Common Issues and How to Fix Them
- Fun Variations to Try
- Storing and Reheating Tips
- Nutritional Information
- Expert Tips for Perfect Rolls
- Conclusion: Your New Baking Buddy
Introduction to Rhodes Rolls
Before we dive into the nitty-gritty, let’s talk about what makes Rhodes Rolls so special. These rolls are a game-changer for anyone who loves fresh, homemade bread but doesn’t have the time or patience for traditional baking. Think of them as the shortcut to bakery-quality bread without all the hassle.
So, what exactly are Rhodes Rolls? They’re pre-made dough balls that you can thaw, shape, and bake to perfection. The best part? They come in various sizes and flavors, making them perfect for any occasion. Whether you’re hosting a dinner party or just want a quick snack, these rolls are your go-to solution.
A Brief History of Rhodes Rolls
Let’s rewind the clock and take a peek at the origins of Rhodes Rolls. These little gems were born out of a need for convenience without sacrificing quality. Back in the day, bakers realized that not everyone had the time or skill to make bread from scratch. Enter Rhodes Rolls—a product that bridged the gap between homemade and store-bought.
Over the years, Rhodes Rolls have become a staple in many households. Their popularity soared because they offered a simple way to enjoy fresh bread without the fuss. And honestly, who wouldn’t want that? Today, they’re available in grocery stores across the country, ready to transform your meals into something extraordinary.
Rhodes Rolls Fun Facts
- They were first introduced in the 1950s.
- Originally, they were sold frozen to preserve freshness.
- Today, they come in a variety of flavors, including garlic, cheese, and cinnamon.
Preparing Your Rhodes Rolls
Alright, let’s talk prep work. Before you start cooking, there are a few things you need to do to ensure your Rhodes Rolls turn out amazing. First, make sure you have all the necessary tools and ingredients on hand. You’ll need:
- A baking sheet or loaf pan
- Parchment paper (optional but recommended)
- A clean towel or plastic wrap for covering
- Any additional toppings or seasonings you want to use
Once you’ve gathered everything, it’s time to thaw your rolls. Remove them from the freezer and let them sit at room temperature for about 3-4 hours. If you’re short on time, you can speed up the process by placing them in the refrigerator overnight.
Cooking Methods for Rhodes Rolls
Now that your rolls are ready, let’s talk about how to cook them. There are several methods you can use, depending on your preference and equipment. Here are the most popular options:
1. Oven Baking
This is the classic method and arguably the best way to achieve that golden, crispy exterior. Preheat your oven to 350°F (175°C) and place the rolls on a baking sheet. Bake for 12-15 minutes, or until they’re golden brown.
2. Air Fryer
Love your air fryer? You’re in luck! Simply place the rolls in the basket, set the temperature to 350°F (175°C), and cook for 8-10 minutes. Flip them halfway through for even browning.
3. Stovetop Cooking
For a more rustic touch, try cooking your rolls on the stovetop. Heat a non-stick skillet over medium heat, add a bit of butter, and cook the rolls for 2-3 minutes on each side until golden.
Common Issues and How to Fix Them
Even the best-laid plans can go awry sometimes. If you encounter any issues while cooking your Rhodes Rolls, don’t panic. Here are some common problems and how to solve them:
- Problem: Rolls aren’t rising properly.
Solution: Make sure they’ve been thawed completely and are placed in a warm, draft-free area before baking. - Problem: Rolls are too dense.
Solution: Check your baking time and temperature. Overcooking can lead to dense rolls. - Problem: Rolls are burning on the outside but raw on the inside.
Solution: Lower the oven temperature slightly and increase the cooking time.
Fun Variations to Try
Once you’ve mastered the basics, it’s time to get creative. Here are a few fun variations to spice up your Rhodes Rolls:
1. Garlic Butter Rolls
Melt some butter and mix in minced garlic, parsley, and a dash of salt. Brush the mixture over the rolls before baking for an extra burst of flavor.
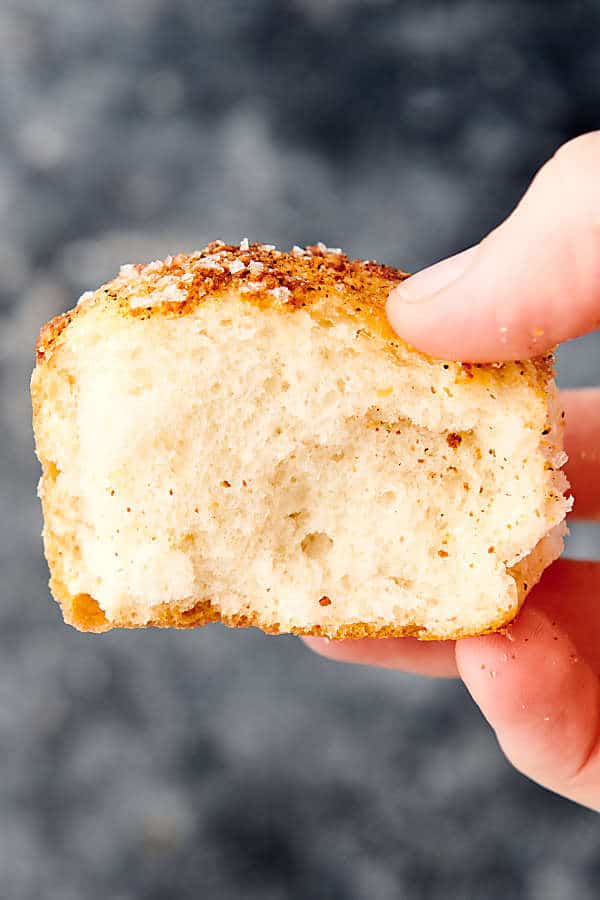
2. Cinnamon Sugar Rolls
Melt butter and mix it with cinnamon and sugar. Brush the mixture over the rolls after baking for a sweet treat that’s perfect for breakfast or dessert.
3. Cheese-Stuffed Rolls
Before baking, slice the rolls open and stuff them with your favorite cheese. Bake as usual for a gooey, cheesy delight.
Storing and Reheating Tips
Leftover rolls? Don’t worry—these babies keep well and are easy to reheat. Here’s how:
- Storage: Store leftover rolls in an airtight container at room temperature for up to 2 days or in the refrigerator for up to 5 days.
- Reheating: To reheat, wrap the rolls in foil and bake in a preheated oven at 350°F (175°C) for 5-10 minutes. For quicker reheating, use the microwave for 10-15 seconds.
Nutritional Information
Now, let’s talk about the nutritional side of things. Rhodes Rolls are generally low in fat and calories, making them a healthier alternative to many store-bought bread options. However, keep in mind that adding toppings or fillings can increase the calorie count.
For those watching their carb intake, there are also gluten-free and low-carb options available. Always check the packaging for detailed nutritional information.
Expert Tips for Perfect Rolls
Here are a few insider tips to help you achieve bakery-quality rolls every time:
- Always preheat your oven to ensure even cooking.
- Don’t overcrowd the baking sheet—leave space between the rolls for proper rising.
- Experiment with different seasonings and toppings to find your favorite combination.
Conclusion: Your New Baking Buddy
And there you have it—everything you need to know about cooking instructions for Rhodes Rolls. From prep work to serving tips, we’ve covered it all. Remember, baking is all about practice and experimentation, so don’t be afraid to try new things and make these rolls your own.
So, what are you waiting for? Grab a pack of Rhodes Rolls, roll up your sleeves, and get baking. And don’t forget to share your creations with friends and family. Trust me, they’ll love you for it.
Before you go, drop a comment below and let me know how your Rhodes Rolls turned out. And if you enjoyed this article, be sure to check out some of our other baking guides. Happy cooking, and see you in the next one!